 |
| A Harvest of herbs |
With the garden going into autumn we are going into
cleaning, pruning and preparation mode. We are cleaning beds, pruning herbs and
shrubs and preparing the garden for the autumn planting.
 |
| Rose geranium cordial |

Cleaning the mint patch and cutting back the herbs, left me
with a harvest of herbs that could enhance the compost in the compost bins. The
abundant fragrance of the rose geranium, mint and lavender however made me
decide to rather capture the essence of summer in cordials.
 |
| Lavender cordial |

Making herbal cordials allows one to capture the fragrances
of summer for a healthy, refreshing drink on warmer autumn days or as a
refreshing mix for a champagne cocktail. Lavender has many health benefits including
the ability to relieve stress, improve mood and promote restful sleep.
 |
| Mint cordial |

Rose geranium has the ability to reduce inflammation,
improve kidney health, relieve pain, lower stress levels, strengthen the immune
system, and ease digestion. Mint, apart from being refreshing, also has a large
variety of health benefits.
I made rose geranium, lavender and mint cordials, leaving
the kitchen smelling like an essential oil factory. It left me happy with my
handy work and with the knowledge that with some ice, lemon slices and water I
can have a refreshing and welcoming drink ready for both expected and
unexpected guests. I could add them to my stock of homemade drinks in the
cellar.
 |
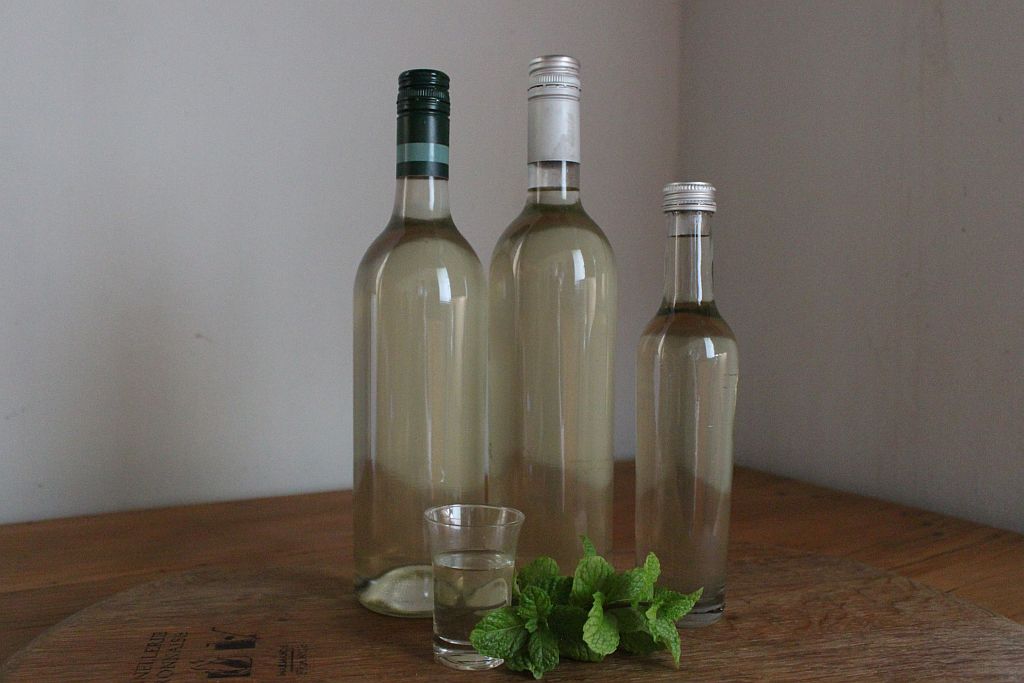
| A cordial affair |
I added Papa Meiland rose-petals to the rose geranium
cordial to enhance the rose colour. It has a beautiful rose-coloured hue
against the subtle lilac of the lavender and the hint of green of the mint.
 |
| Seeing cordials in a different light |
That is what is so amazing about a garden. There is always
something growing that can be used to create a treat that is both healthy and
refreshing.


